The Tilt-Up Construction Process Explained
There are many ways to build a commercial building or a home, but tilt-up construction offers the greatest benefits. Tilt-up construction combines the Design-Build method’s efficiency and precision with the durability and strength of reinforced concrete. This is a proven system in which concrete panels are poured on-site and assembled using cranes. The tilt-up method enables quick and easy construction while also creating visually appealing structures that last.
Tilt-up concrete buildings are typically built faster than structures using wood, ICF or metal. Overall, tilt-up construction requires less material and labour, resulting in lower construction costs. Additionally, tilt-up concrete structures are more energy efficient and sustainable, and they’re more affordable.
Tilt-up construction has a wide range of applications for both residential and commercial needs. Some of Tilt Wall’s past projects have included schools, industrial buildings, retail spaces, agricultural structures, religious institutions and private residences.
But regardless of the project scope, this specialized process can be broken down into 7 distinct steps.
Site Assessment & Documentation
In this initial phase, the build team visits the site to ensure acceptable access and appropriate conditions for concrete building. The site is approved for construction. Then, Tilt Wall handles all architectural and engineering paperwork.
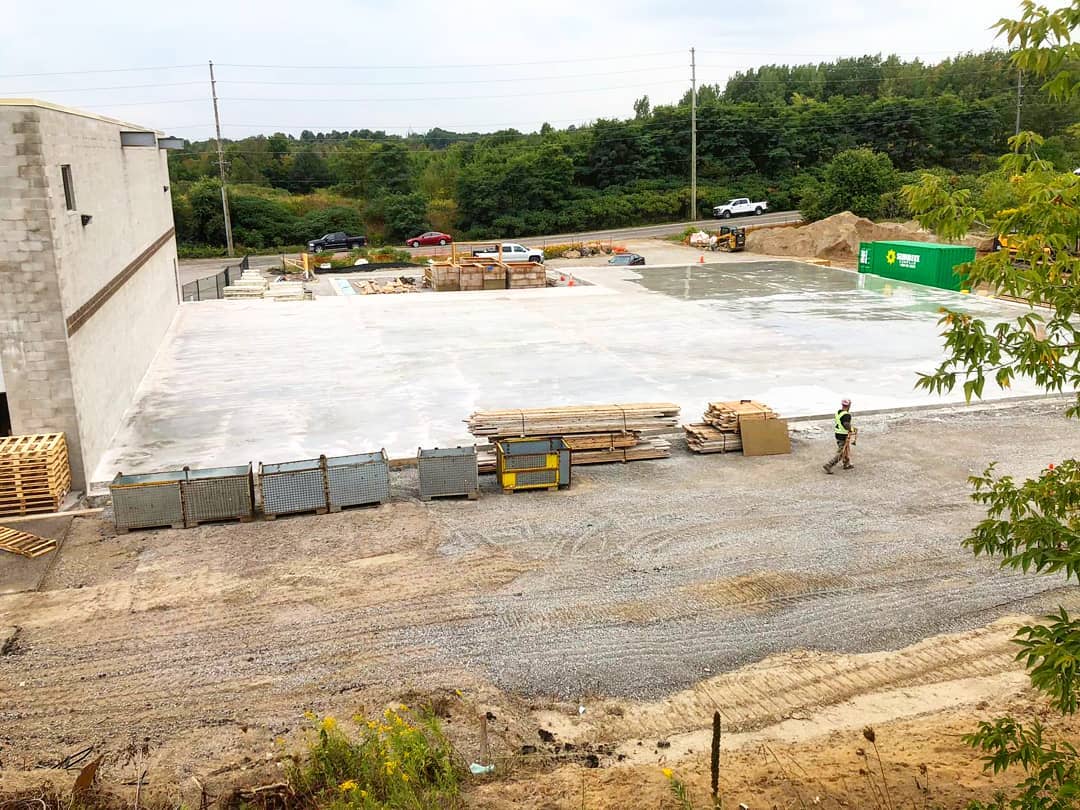
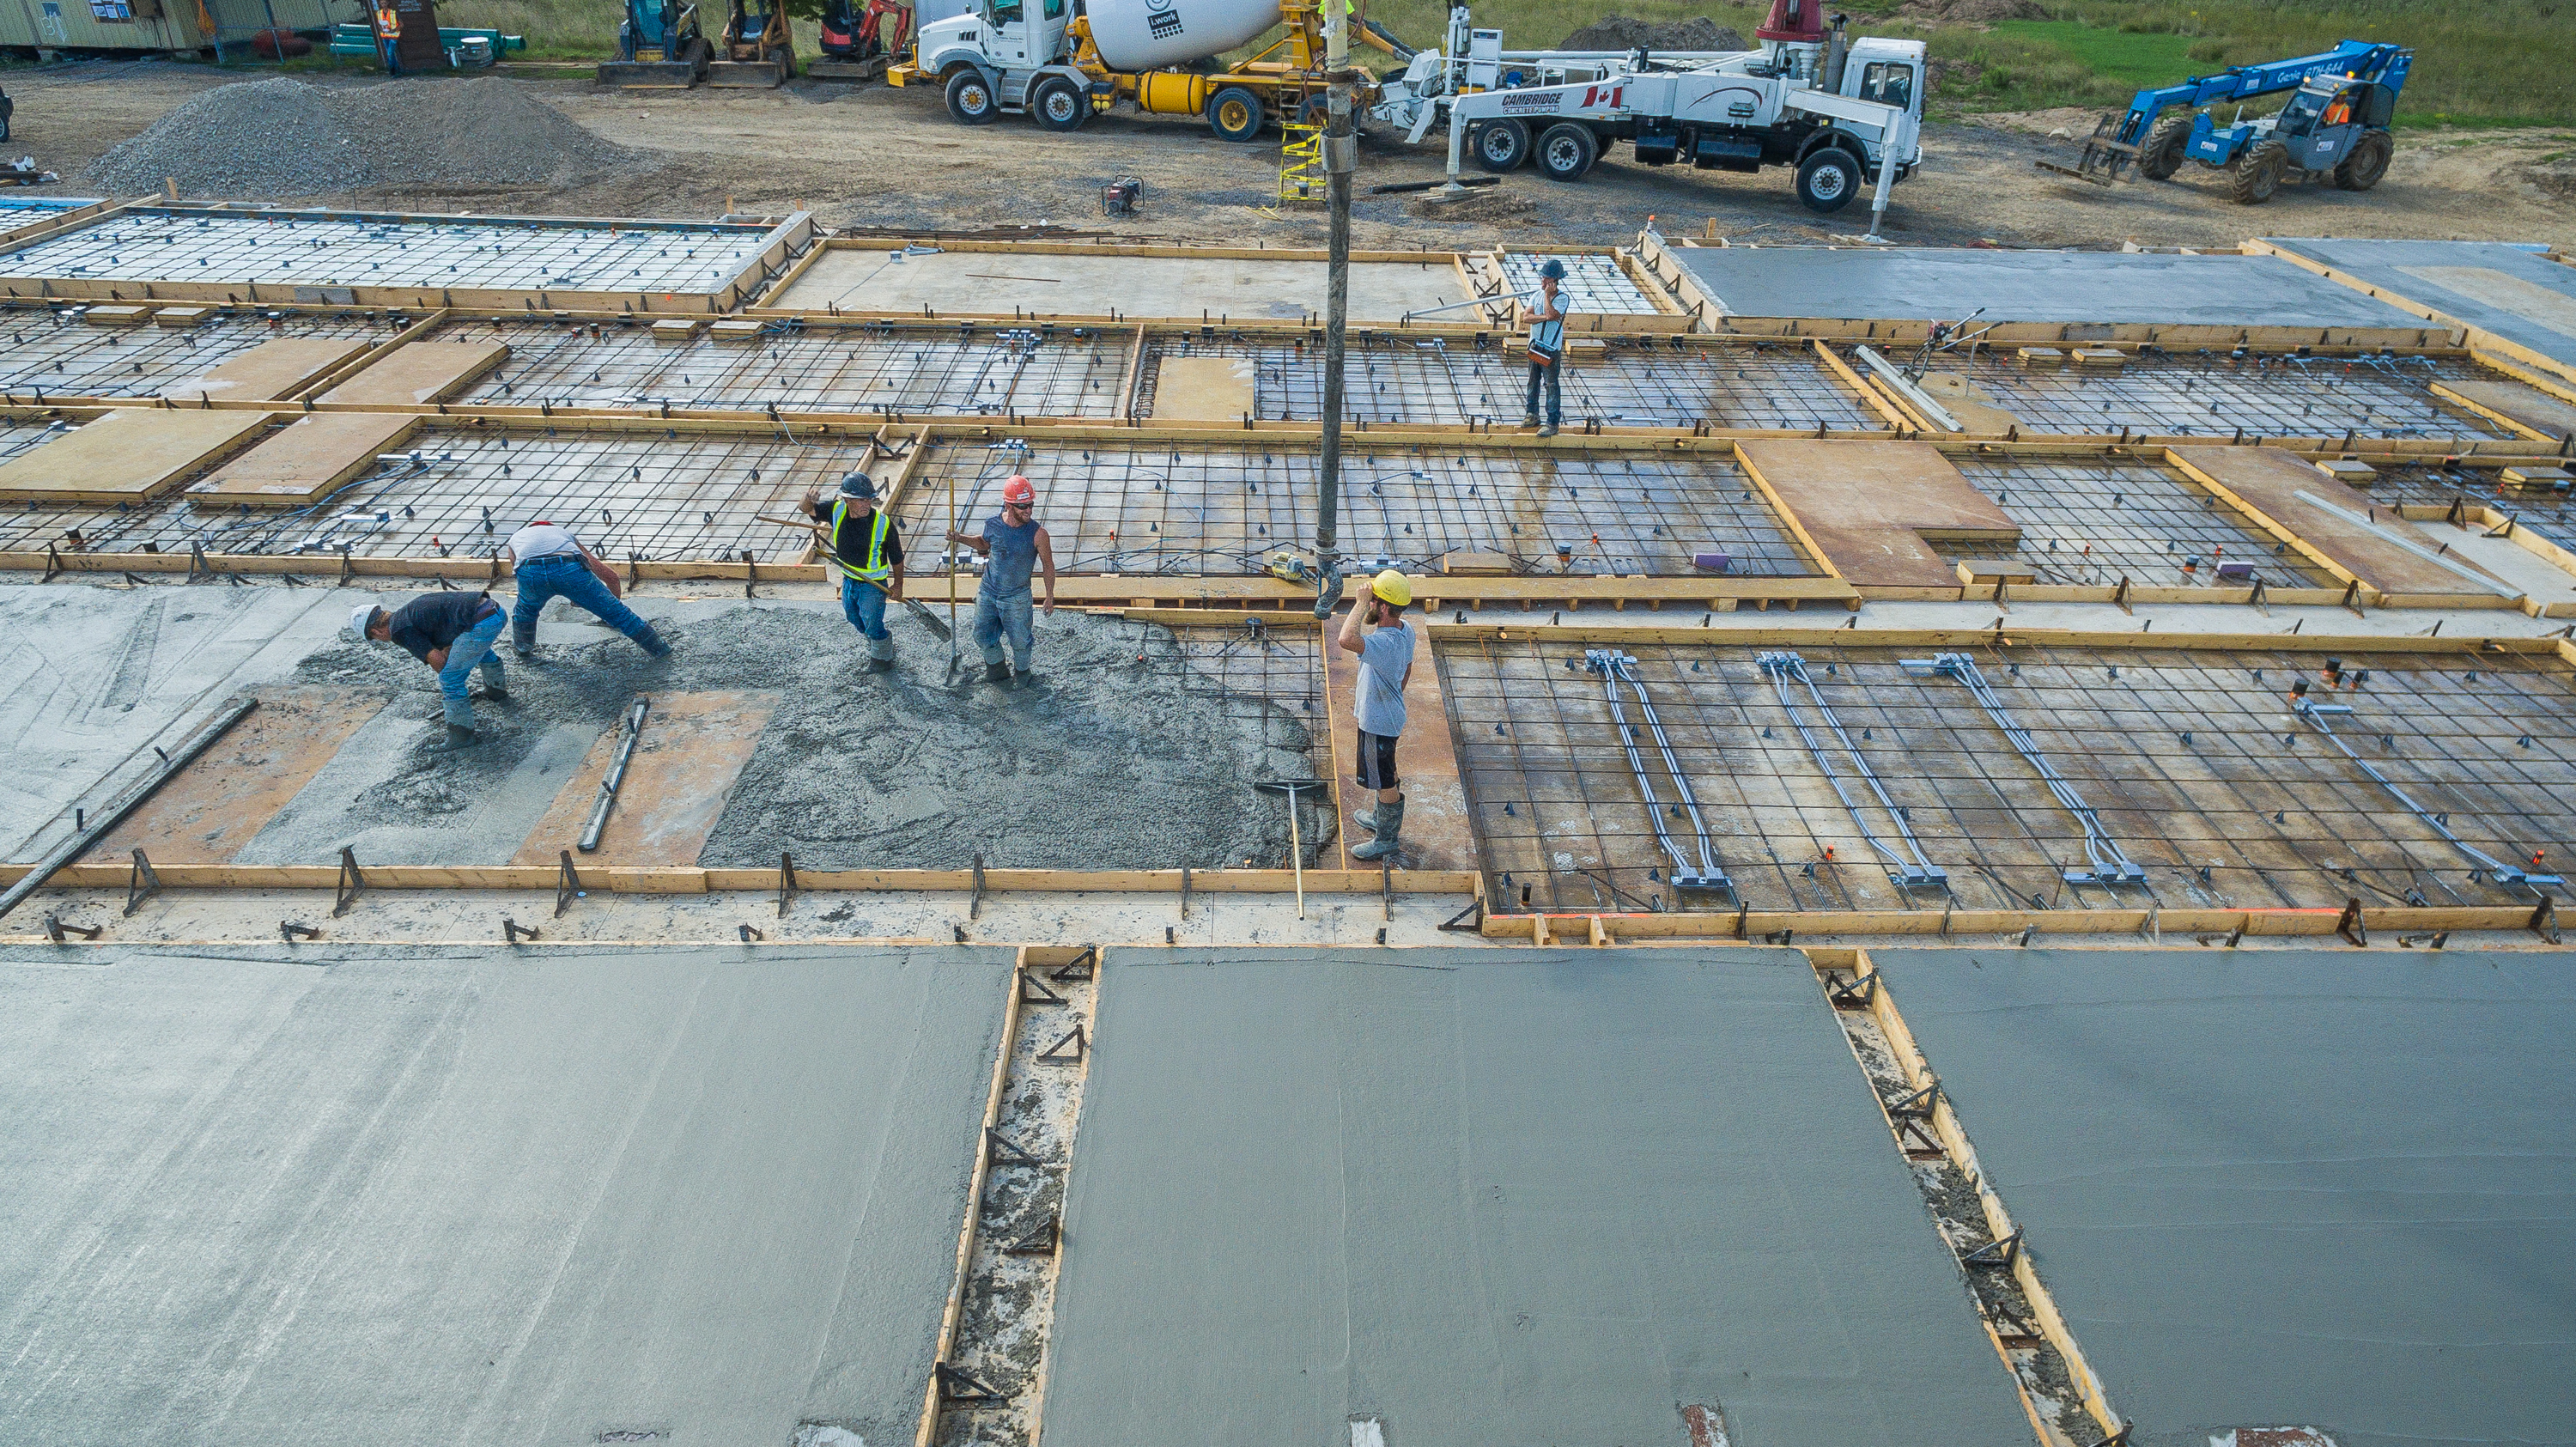
Site Preparation & Pouring the Foundation Slab
This is where tilt-up construction officially begins. All required materials and equipment are gathered for job site preparation. Next, the concrete floor slab is poured. Also during this phase, workers will install footings around the slab to get ready for the panels.
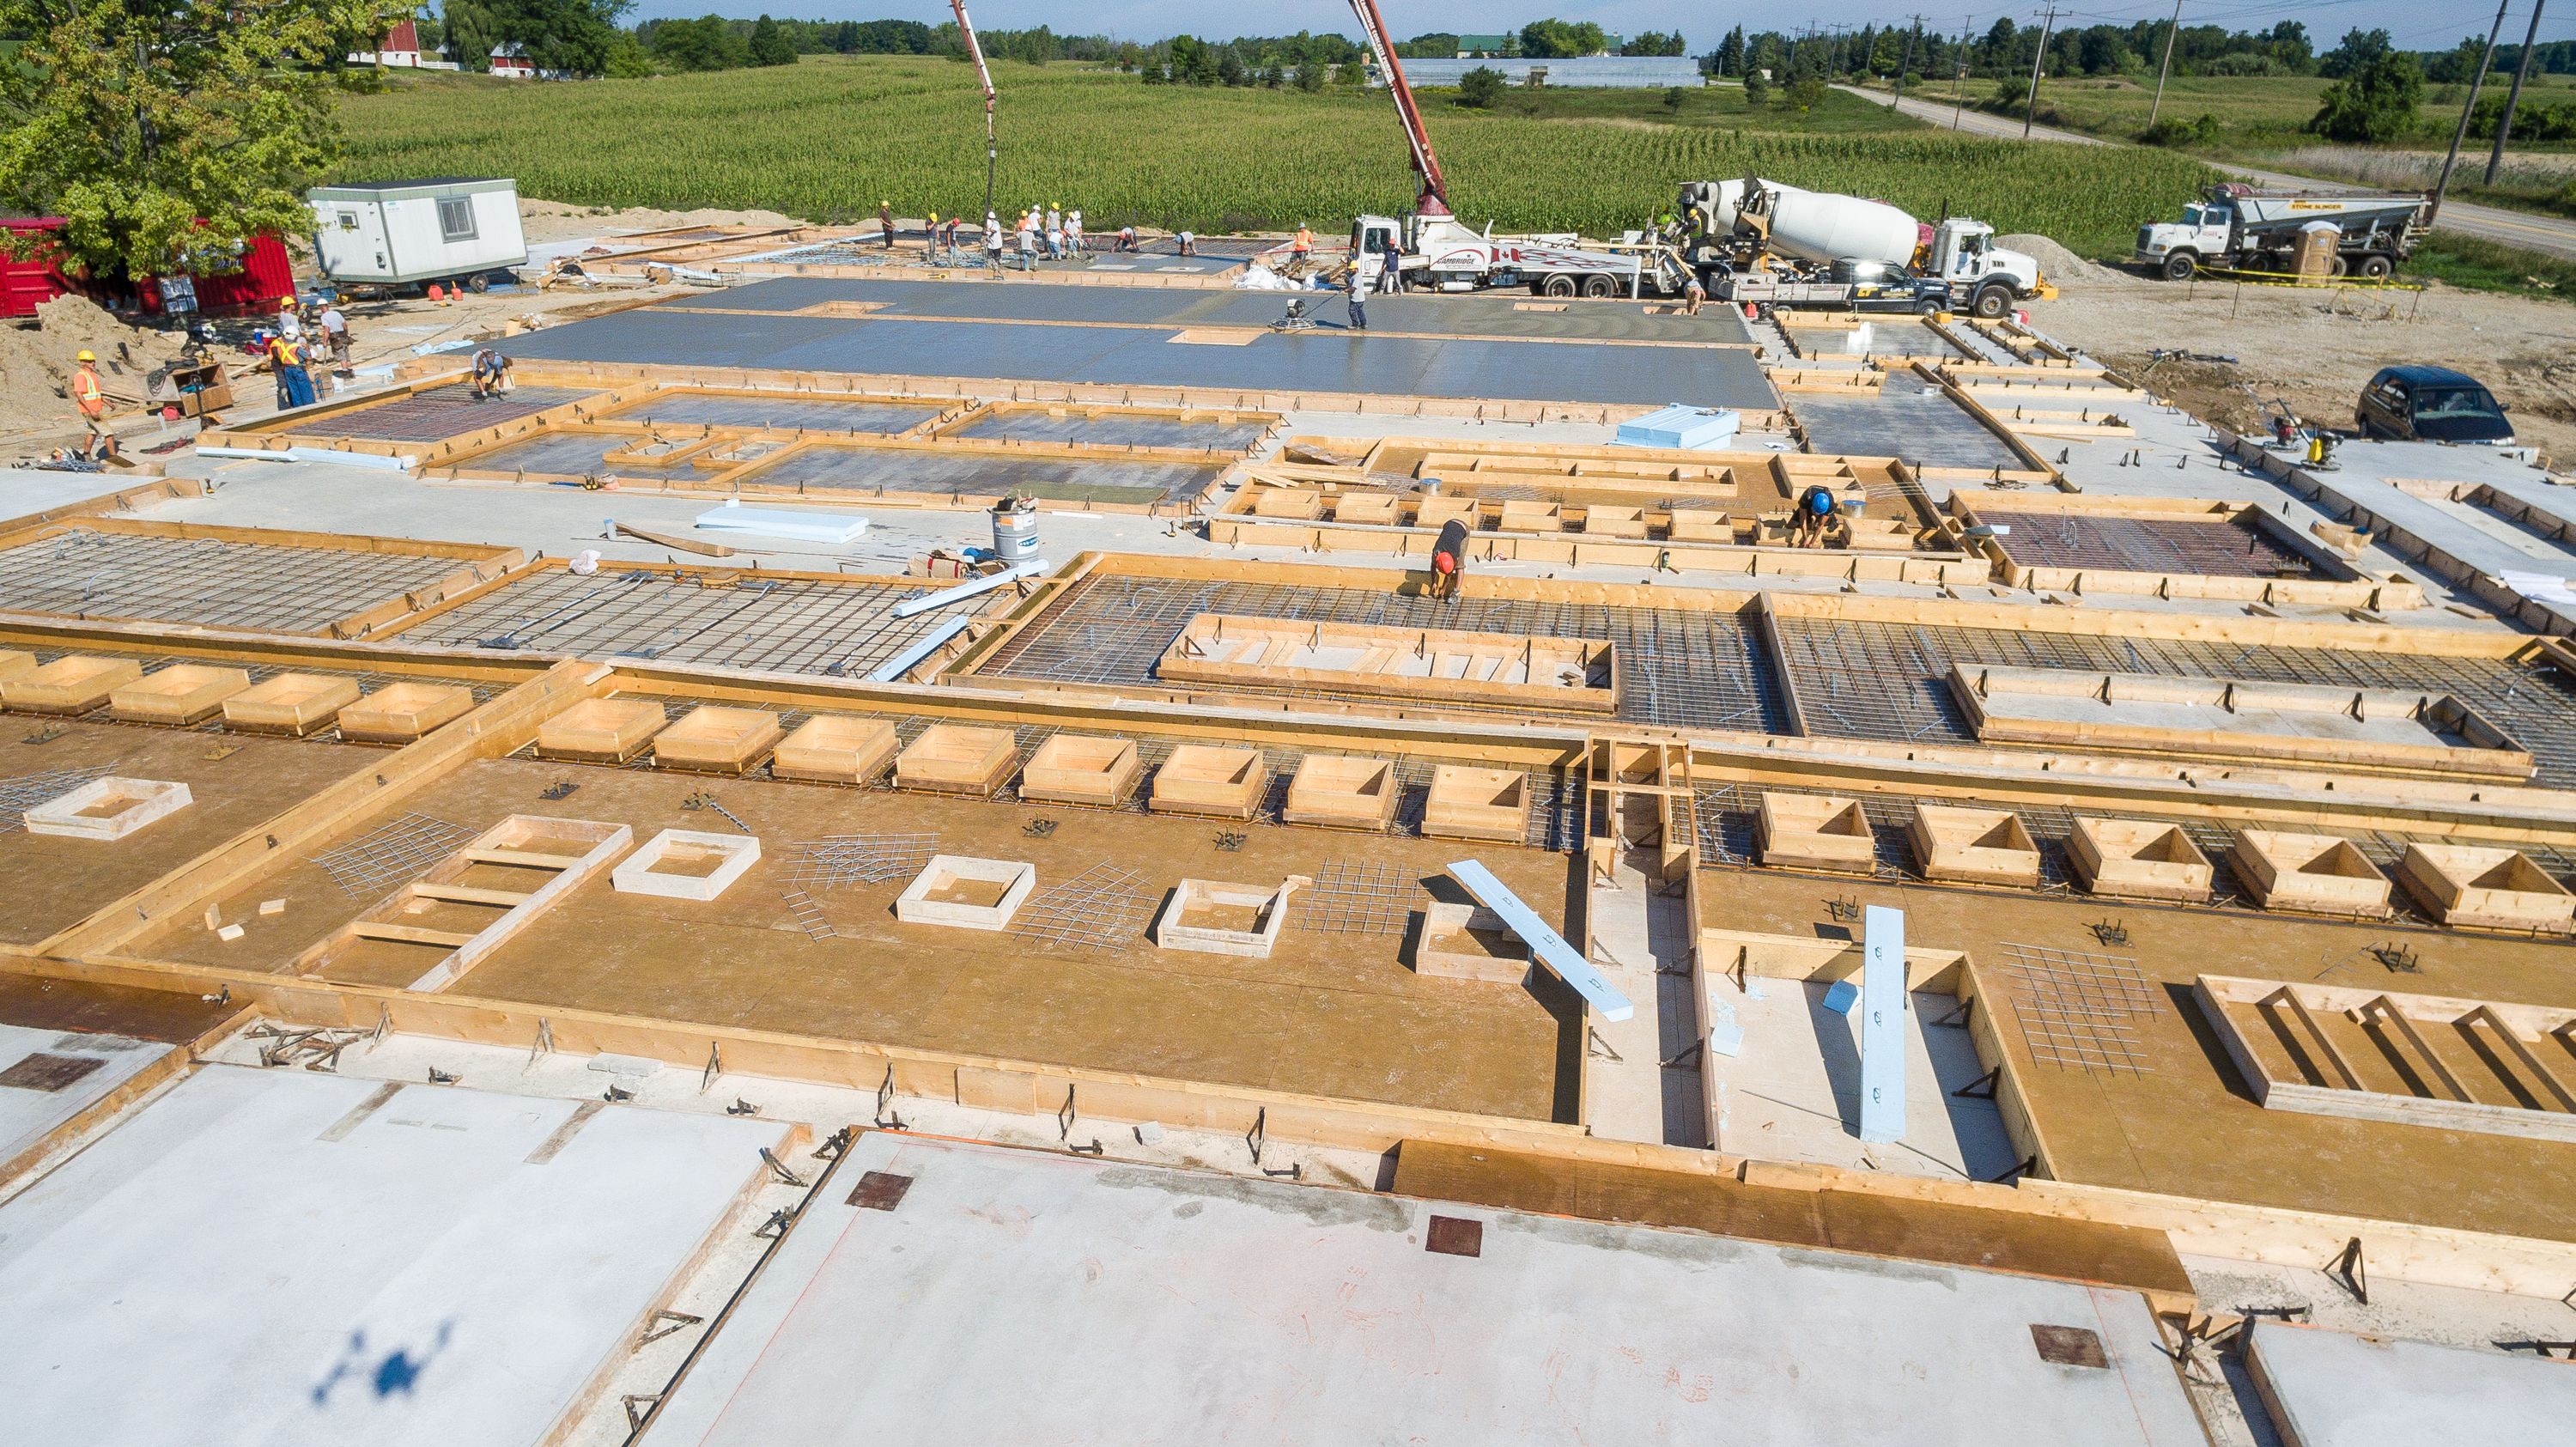
Forming of Tilt-Up Wall Panels and Adding Formliners
Now, the crew assembles the panel forms on the floor slab. The form is usually created using standard dimensional lumber that has been joined together. The panel forms essentially serve as molds for the concrete. Each form provides the panel’s exact shape and size as well as openings for doors and windows. The forms ensure that each panel meets the project’s design specifications. They also ensure that the panels fit together properly.
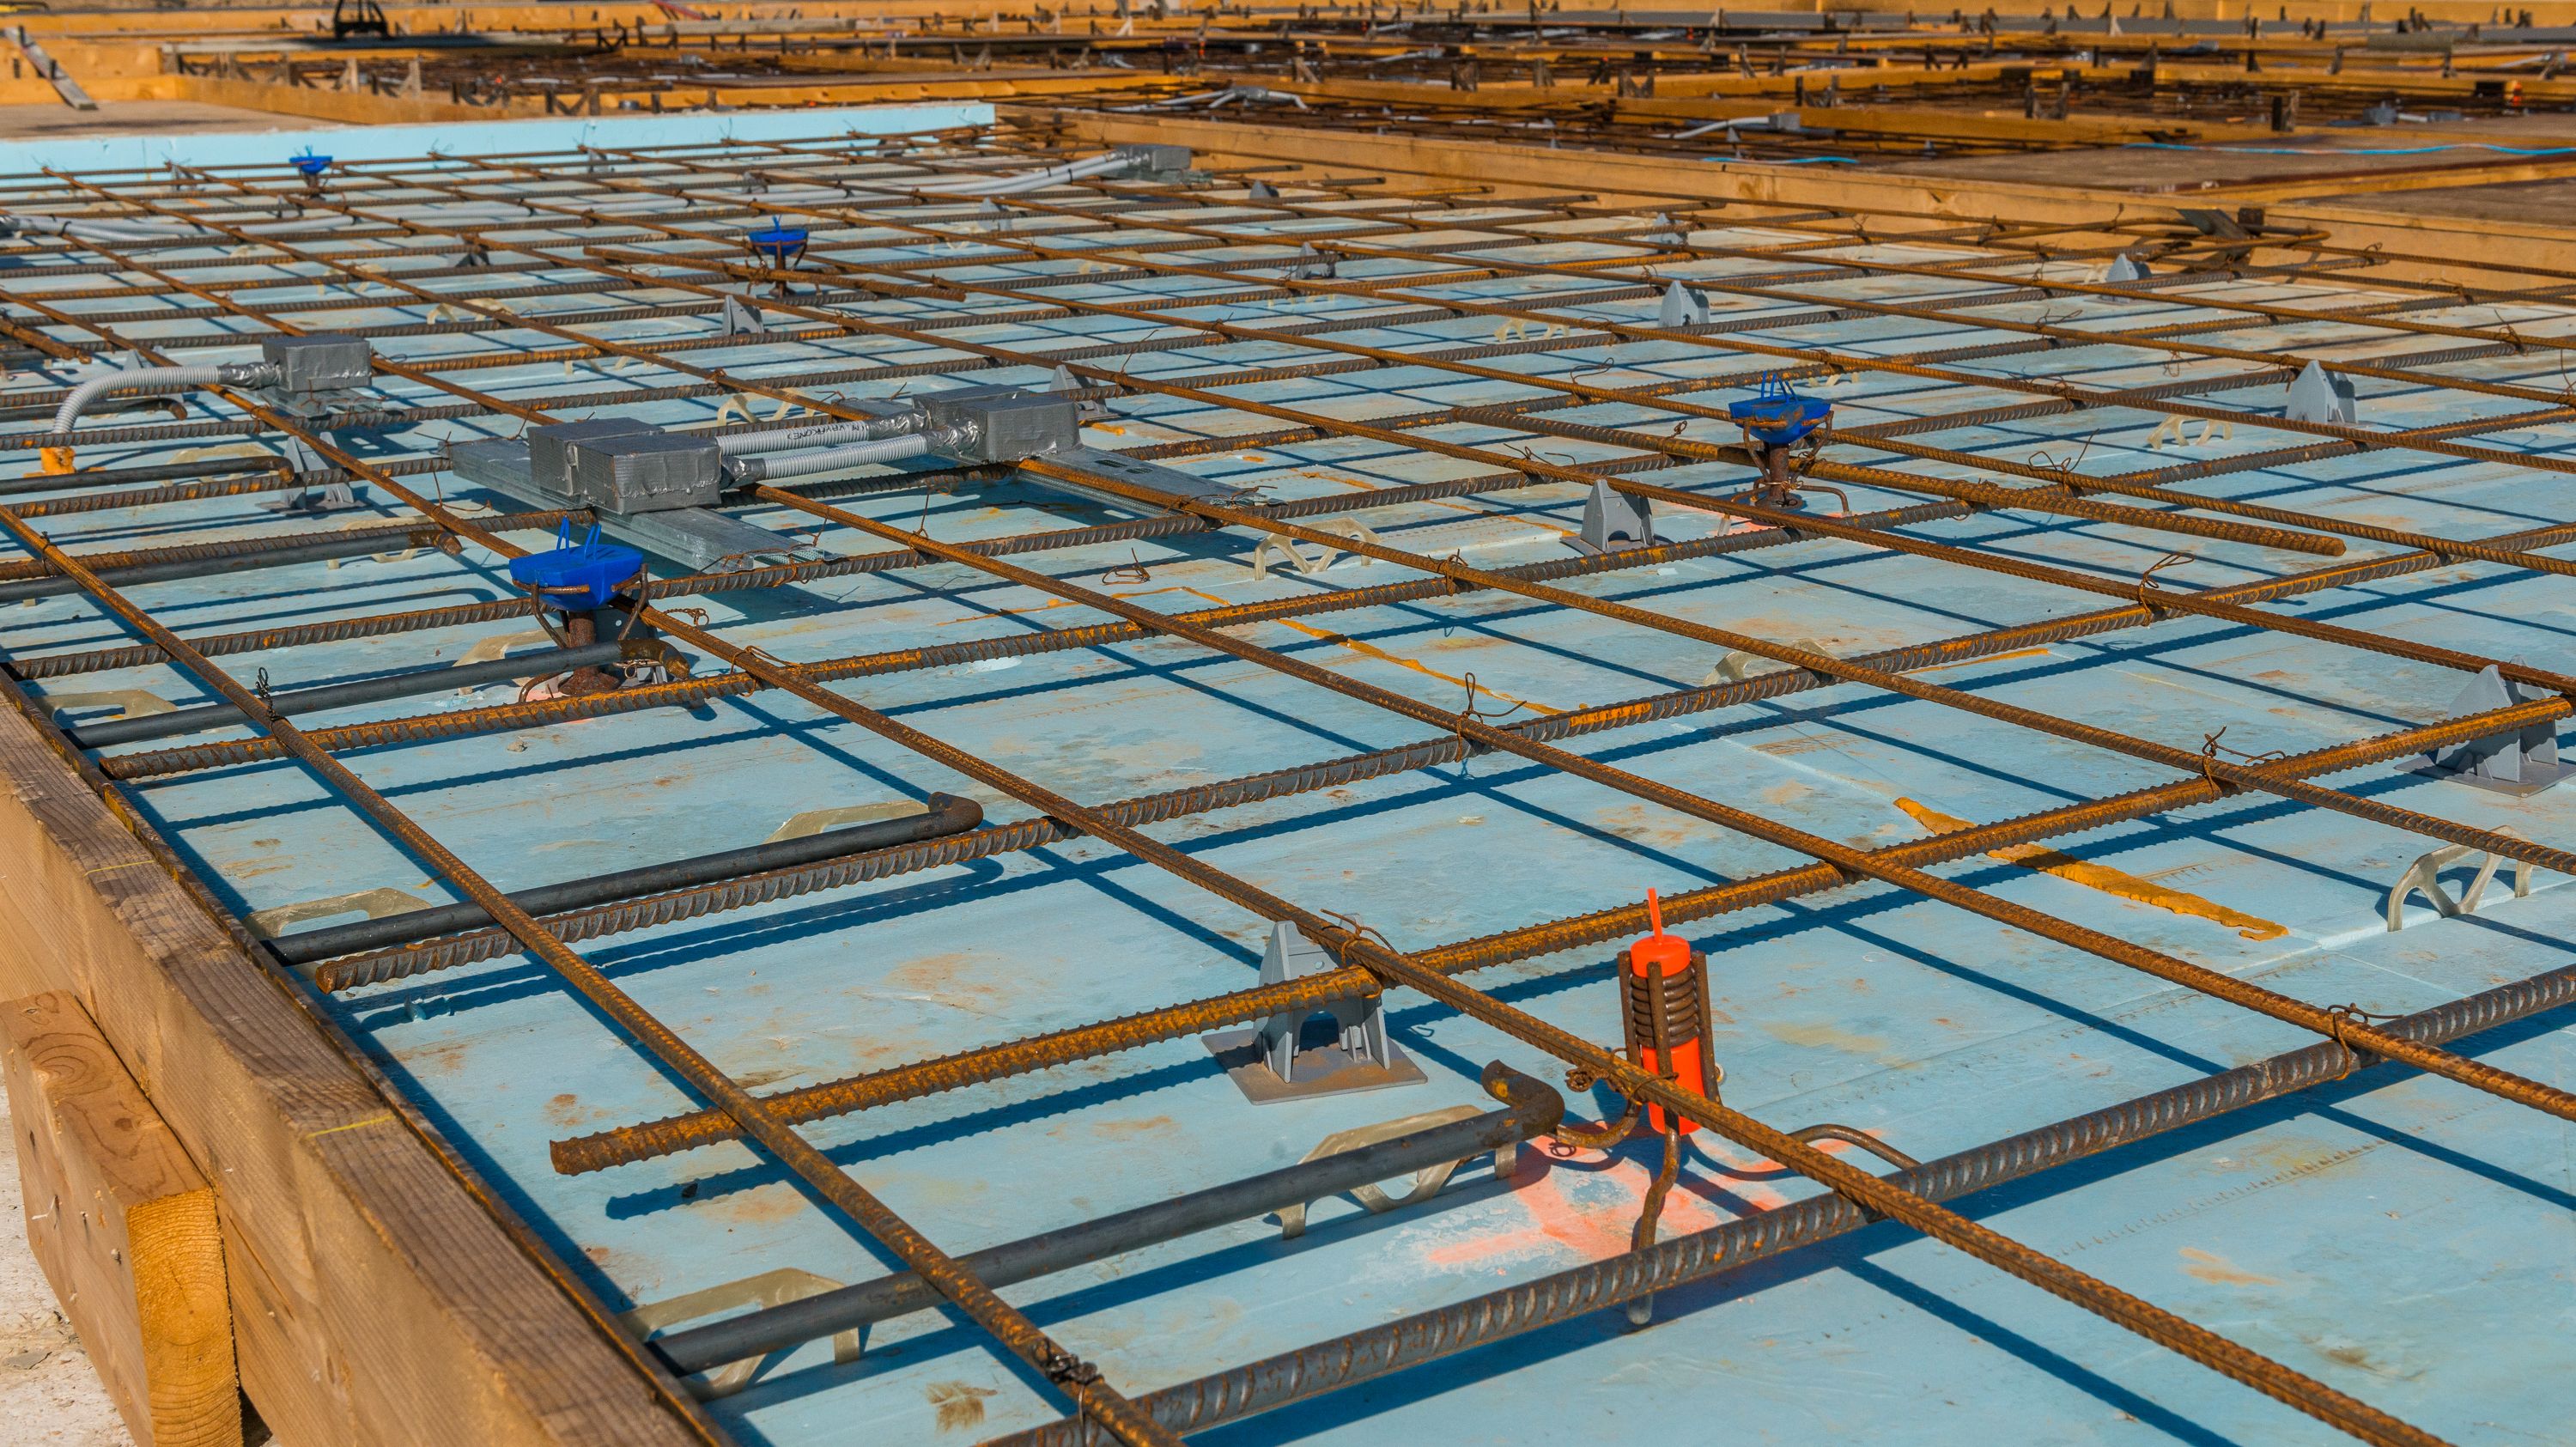
Panel Reinforcement and Installation of Lifting Inserts & Embeds
Up next, workers tie in the steel grid to reinforce bars into each form. This part of the process gives the panels additional structural integrity over the course of their service life, ensuring that the tilt-up concrete structure can withstand tensile forces from applied loads and shrinkage.
Also during this phase, workers install inserts and embeds, which will be used to lift the panels and attach them to the footing, roof system and each other.
Pouring Concrete Tilt-Up Panels & Adding Insulation
The floor slab beneath the forms is cleaned of any debris or standing water. Then the workers pour concrete into the prepared forms to create the panels.
Sandwich Insulation is also encased into each building panel. Sandwich Insulation gives tilt-up structures true edge-to-edge insulation, offering greater design versatility, energy efficiency and fire resistance. So, this is a critical step in the tilt-up construction process.
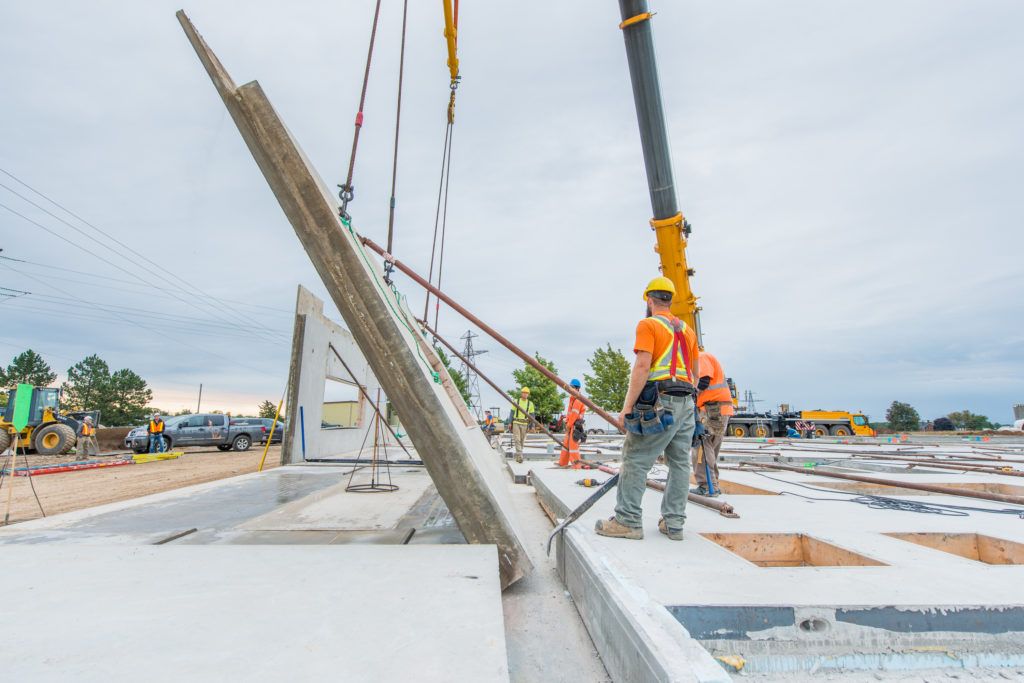
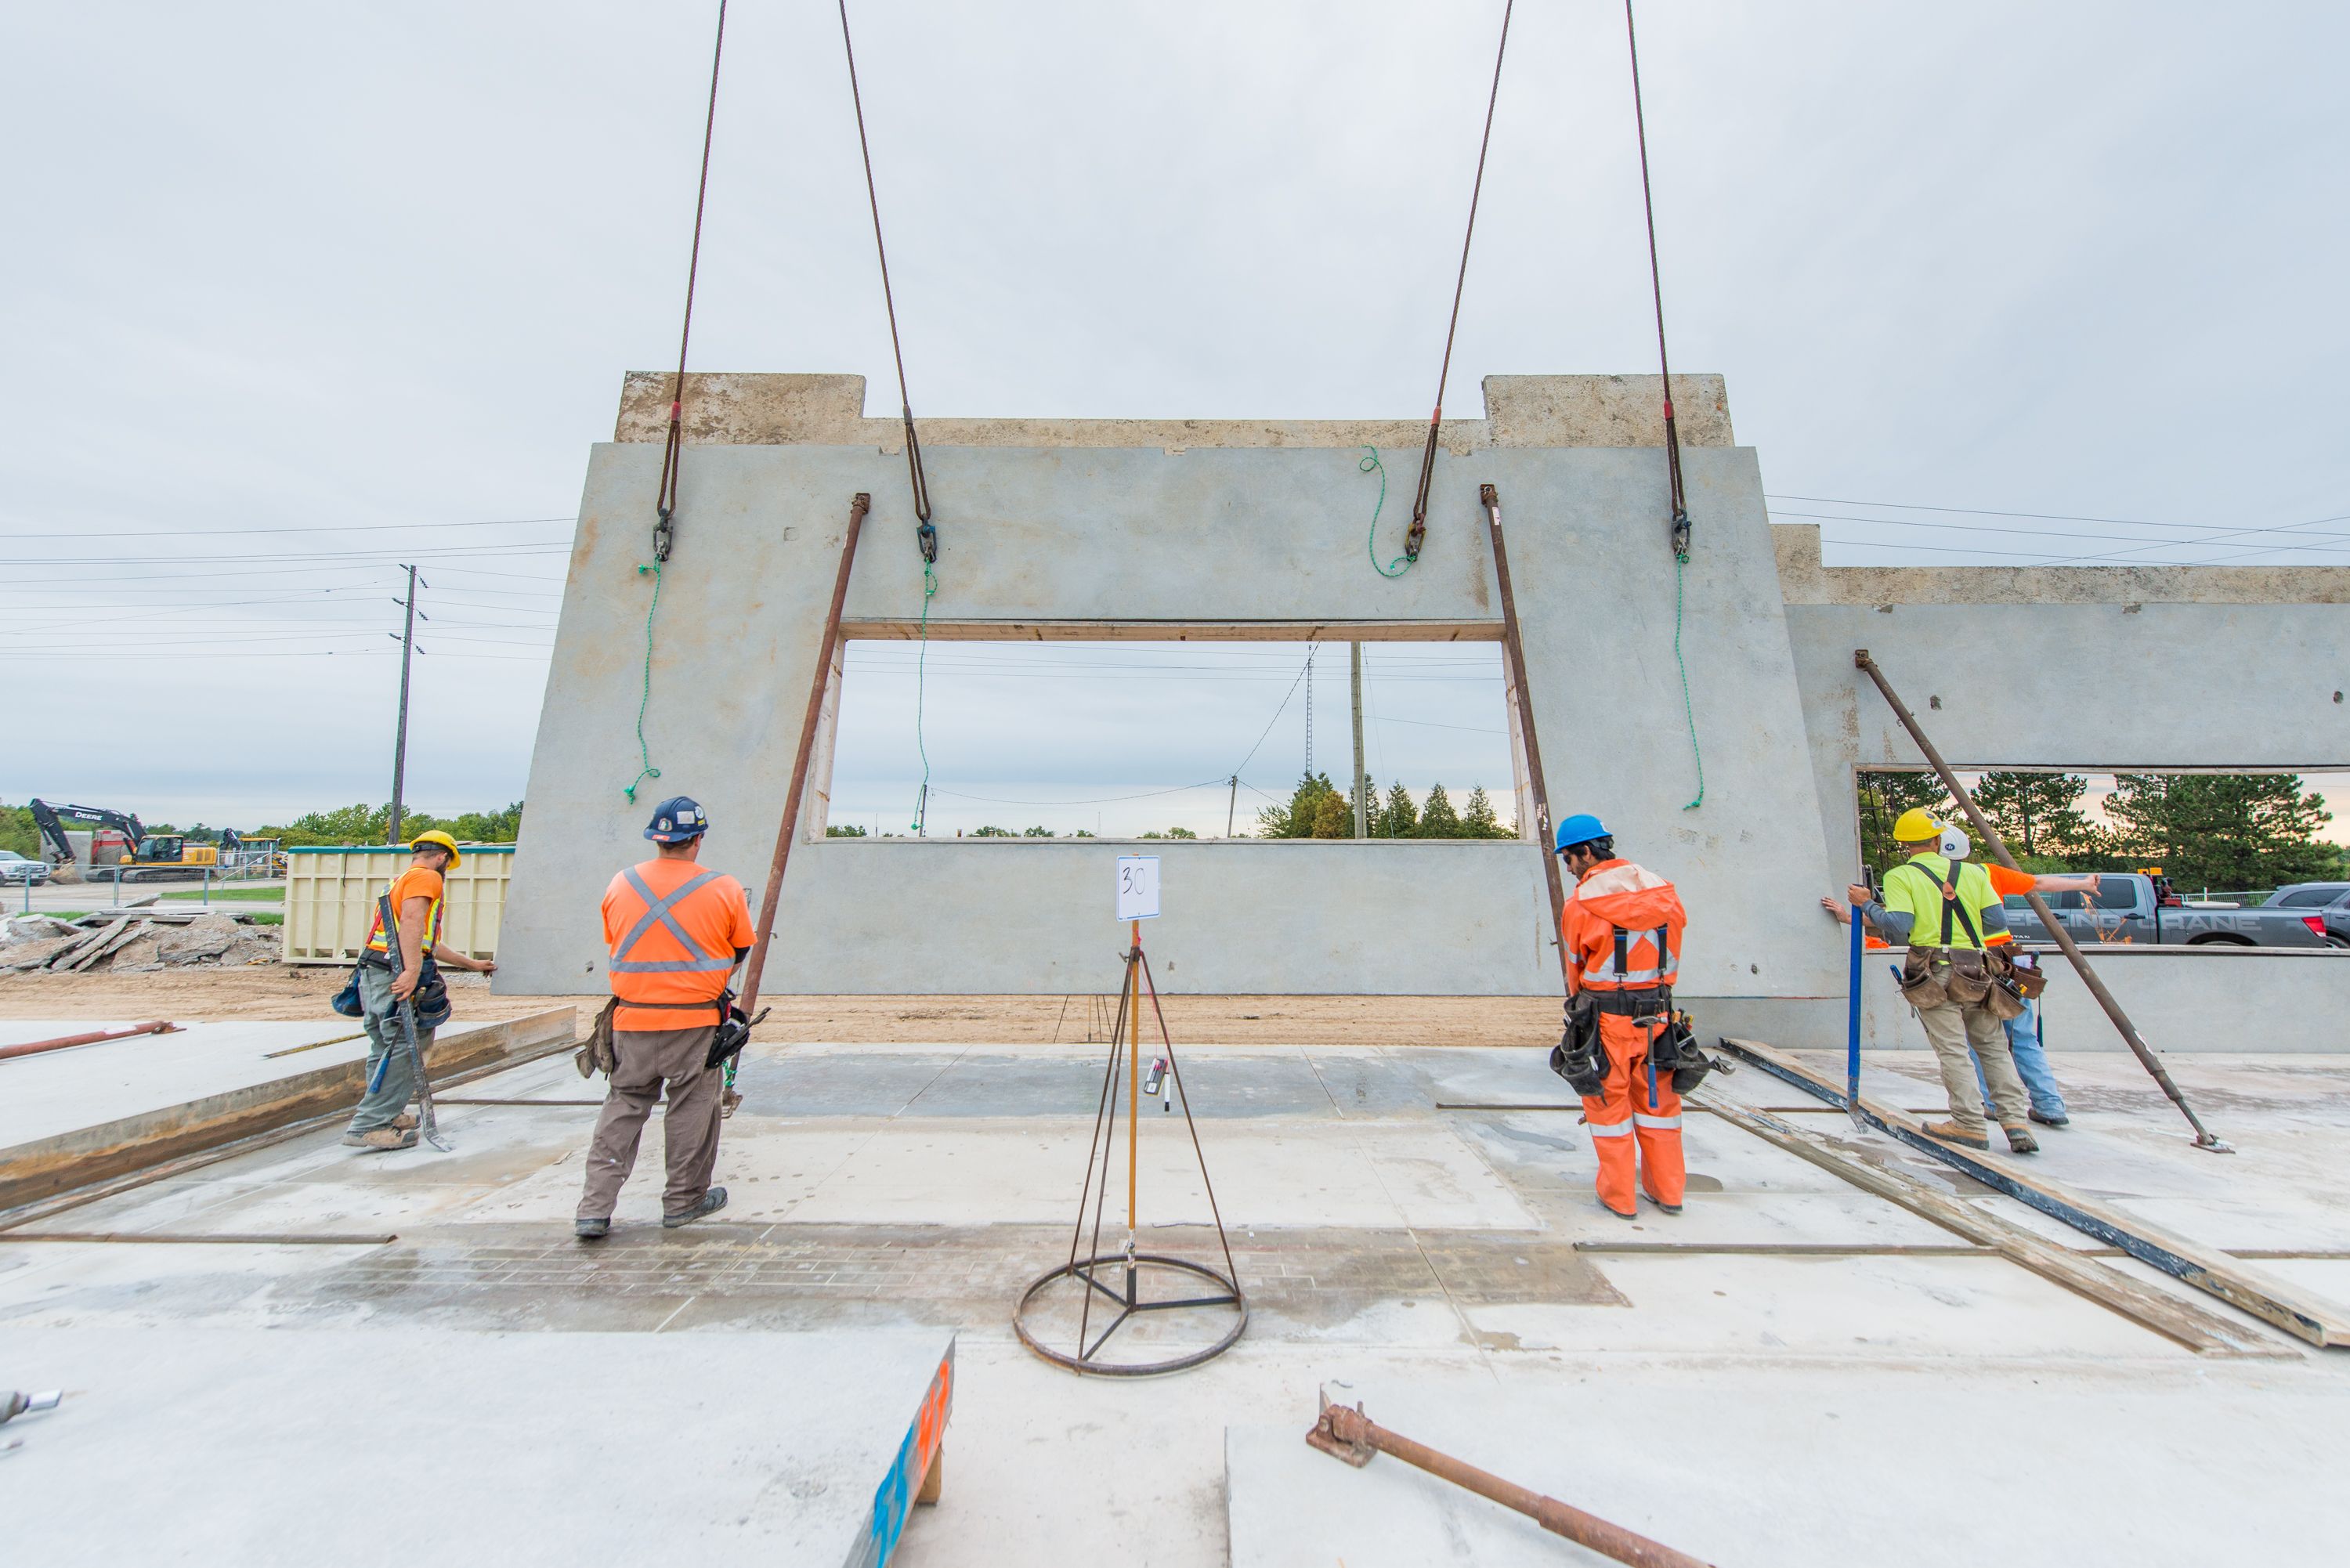
Lifting Concrete Panels in Place
The concrete panels are given time to solidify; then, the forms are removed. The crew connects the first panel to a crane with cables that hook into the installed inserts. The crane size may vary depending on the height and weight of the concrete panels in a given project. Typically, the crane is two to three times the size of the largest panel.
The crew will also attach braces to the panel. The crane then tilts up, or lifts, the panel from the floor slab until it’s in a vertical position above the footings. Workers will help guide the concrete panel into position. The crane will set the panel in place.
From here, the workers will connect the panel’s braces to the slab, attach the panel’s embeds to the footing and disconnect the cables from the crane. The crew moves to the next panel and repeats this process until are panels are tilted up and secure.
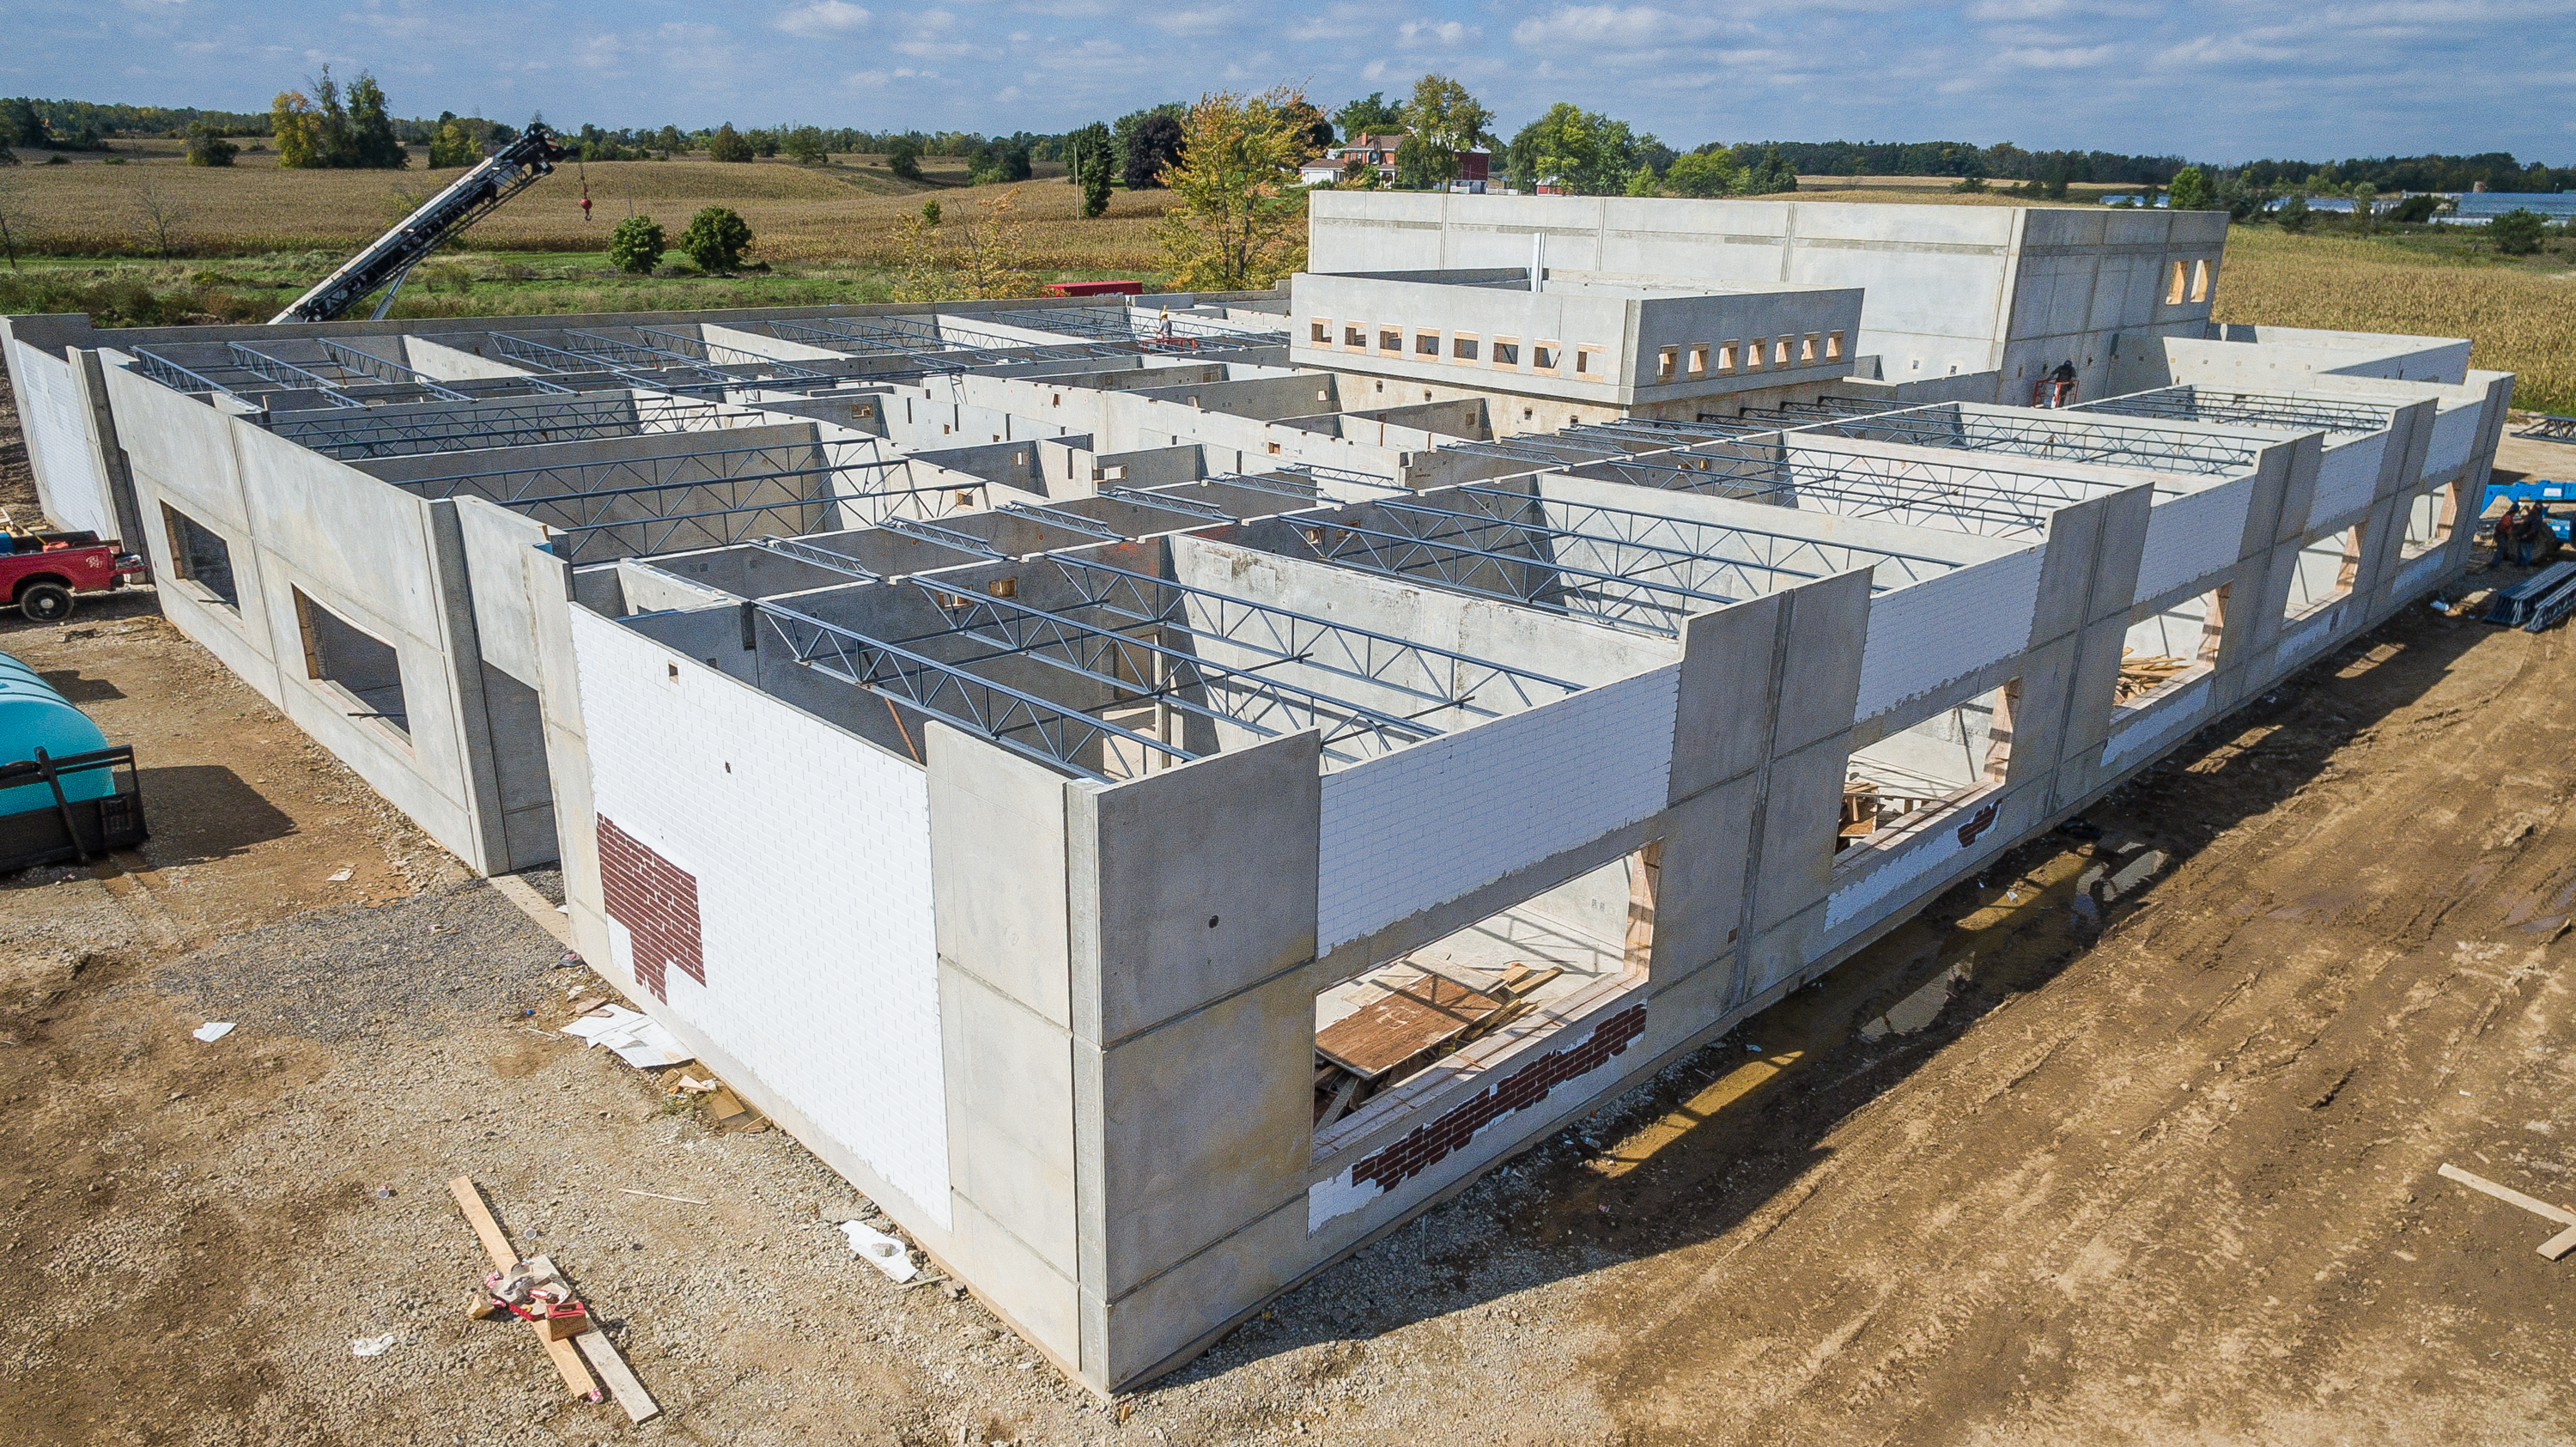
Panel Finishings & Caulking Joints
During the last step of the process, the building begins to look like a finished product. Exterior wall finishes, like painting, staining or sandblasting, take place. The joints are also caulked to prevent water penetration. And, imperfections on wall surfaces are patched. The roof system is also installed at this stage. Then, trades can begin interior work, such as electrical and plumbing.
The tilt-up construction process is like a 3D puzzle. It’s a time- and cost-saving process that’s simplistic and effective and should be considered for your next project. To learn more about Tilt Wall’s process, contact us today.